blog
Mulching for Winter: Protecting Your Garden from Frost
Why Mulch Matters in Winter
When the ground freezes and thaws throughout winter, it can stress your plants’ roots and even push them out of the soil. Adding a layer of mulch helps keep the soil temperature stable, acting as a protective barrier against frost. Here’s how it helps:
- Prevents Soil Heaving: Mulch keeps the soil from expanding and contracting, reducing the risk of roots getting pushed out.
- Locks in Moisture: Winter winds can be drying. Mulch helps the soil stay moist, which is a lifesaver for your plants.
- Shields Roots from Frost: Mulch creates a buffer, reducing the risk of frost damage to your plants.
What Kind of Mulch Should You Use?
Not all mulches are created equal, especially when it comes to winter protection. Here are our top picks:
- Shredded Bark or Wood Chips: Perfect for shrubs and trees. They’re great at insulating while still allowing air and water to flow through.
- Pine Needles: These are lightweight and great for acidic-loving plants like azaleas and rhododendrons.
- Composted Leaves: If you have leaves piling up, consider shredding and composting them first. They’re nutrient-rich and ideal for perennials.
- Straw or Hay: Best for vegetable gardens or newly planted perennials. It’s easy to apply and remove in spring.
- Coast of Maine Dark Bark Mulch: Our go-to recommendation for a rich, organic look that adds nutrients to your soil over time.
How to Mulch for Winter Like a Pro
Here’s a quick step-by-step guide to help you mulch your garden effectively:
- Wait for the First Frost: It’s best to mulch after the ground has frozen a bit. This helps deter pests from setting up camp in your mulch.
- Clear the Area: Remove dead leaves and plant debris to keep pests and diseases at bay.
- Spread the Mulch Evenly: Lay down about 3-4 inches of mulch around your plants. Be sure to keep it away from the stems and trunks to prevent rot.
- Focus on the Root Zones: Pay special attention to covering the root zones of perennials, shrubs, and trees, where they need the most insulation.
- Ease Up in Spring: As the weather warms, thin out the mulch to help the soil warm up and breathe.
A Few Extra Tips
- Add a Layer of Compost: Before you mulch, sprinkle a little compost to give your plants a nutrient boost.
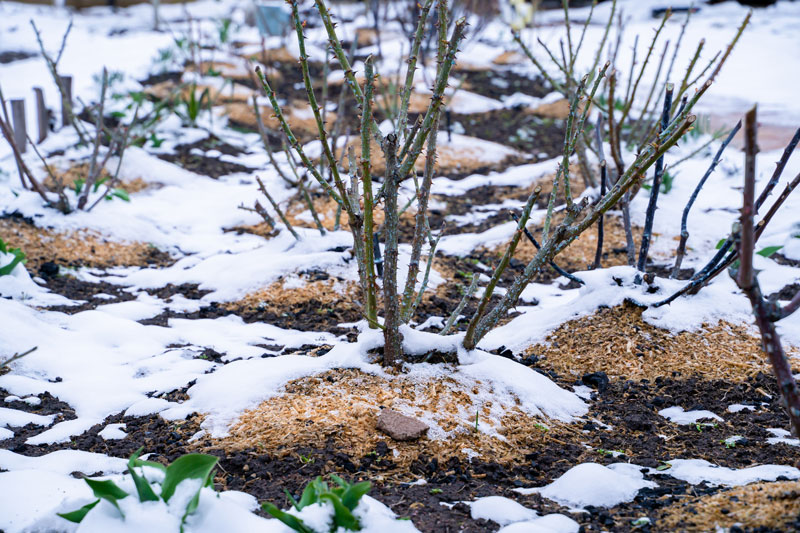
- Protect Your Roses: For delicate roses, mound up some extra mulch at the base for added protection.
- Stock Up on Tools: A sturdy rake and wheelbarrow can make this task a breeze. We’ve got a great selection of garden tools at Lakeview Nurseries if you need them!
Stop By and Let’s Get Mulching Together!
Need help choosing the right mulch or have questions about your winter garden prep? We’re here to help! Stop by Lakeview Nurseries, and we’ll guide you to the best options for your garden. Our team is ready with advice, and we’ve got plenty of in-store specials to make your winter prep easy and affordable.
Here’s to a well-mulched garden and a cozy winter for your plants. See you soon!
Happy gardening,
Michelle and the team at Lakeview Nurseries 🌱